A Step-by-Step Guide to Waxing Your Cutting Board!
- Fusteira
- Sep 9, 2023
- 2 min read
Updated: Oct 24, 2023

Congratulations on your new cutting board! Let's ensure it stays in top-notch condition
and serves you for years to come.
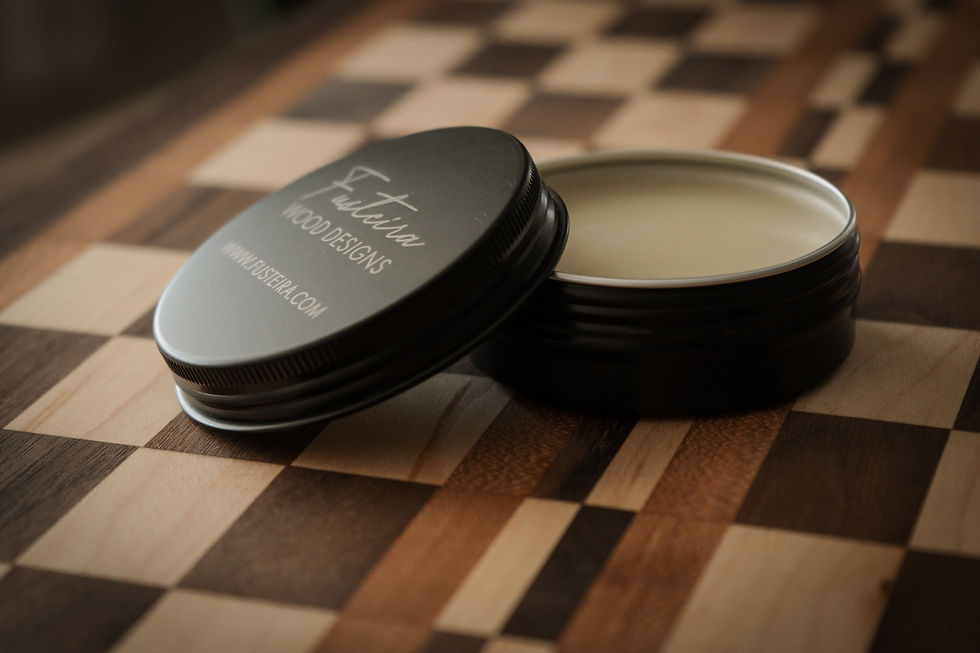
One of the best ways to maintain your cutting board is by waxing it with cutting board butter. In this easy-to-follow guide, we will walk you through the simple process of waxing your cutting board to protect and keep it looking as beautiful as the first day.
Why Should You Wax Your Cutting Board?
Waxing your cutting board is a crucial step in its maintenance for several reasons:
Protects the Wood: Waxing forms a protective barrier on the board's surface, preventing moisture and food particles from seeping into the wood. This will helps to extend the lifespan of your cutting board.
Enhances the Aesthetic: Our organic food safe cutting board butter not only safeguards your board but also brings out its natural beauty. It gives the wood a rich, lustrous sheen that makes it look as good as new.
Prevents Odors and Stains: By sealing the pores of the wood, waxing helps to prevent the absorption of strong odors and stubborn stains from foods like garlic and beets.
Improves Cutting Performance: A well-maintained cutting board with a smooth surface allows for easier and more precise cutting, ensuring your kitchen tasks are a breeze.
Tools and Materials You'll Need
Before you begin waxing your cutting board, make sure you have the following items handy:
Your cutting board/butcher block
Organic food safe cutting board butter (available for purchase from us here)
A clean, lint-free cloth or paper towel
A microwave-safe bowl
A soft-bristle brush or clean cloth for application
The Waxing Process
Now, let's dive into the step-by-step process of waxing your cutting board with
Step 1: Clean Your Cutting Board
Start by thoroughly cleaning your cutting board. Use a mixture of warm soapy water to remove any food residues and stains. Rinse it well and allow it to air dry completely.
Step 2: Soften the Cutting Board Butter
Scoop a small amount of organic cutting board butter into a microwave-safe bowl. Heat it in the microwave for about 10-15 seconds or until it melts into a liquid form. Be cautious not to overheat.
Step 3: Apply the Wax
Using a soft-bristle brush or a clean cloth, dip it into the melted cutting board butter. Apply a generous, even layer of the wax to the entire surface of your cutting board. Make sure to cover both sides and the edges.
Step 4: Allow the Wax to Set
Leave the cutting board to sit for at least 20-30 minutes to allow the wax to penetrate and protect the wood.
Step 5: Buff and Polish
After the wax has set, take a clean, lint-free cloth or paper towel and buff the cutting board's surface to a beautiful, natural shine. Ensure that all excess wax is removed during this step.
Step 6: Repeat as Needed
Depending on how often you use your cutting board, you may need to repeat this waxing process every few months or when the wood starts to look dry.
By following these straightforward steps, you can easily maintain the beauty and functionality of your cutting board for years to come. Remember, a well-cared-for cutting board is essential for safe and enjoyable cooking experiences. Enjoy your beautifully waxed cutting board!


Hozzászólások